Introduction
Pipe replacement may seem intimidating, but understanding the process can help you prepare. This guide walks you through each step of a professional pipe replacement project.
Step 1: Inspection and Assessment
- Identify the problem areas using cameras, pressure tests, or visual inspection.
- Determine which pipes need replacement.
Step 2: Choosing Replacement Pipes
- Select materials based on durability, water type, and home plumbing layout.
- Consider long-term performance to reduce future repairs.
Step 3: Preparing the Area
- Clear access points to the plumbing.
- Shut off water supply and drain the system.
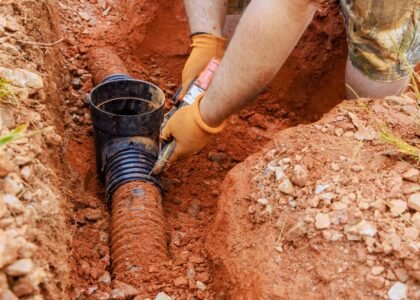
Step 4: Removing Old Pipes
- Carefully cut and remove damaged pipes.
- Inspect surrounding areas for hidden damage.
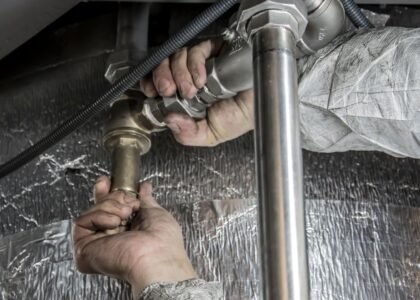
Step 5: Installing New Pipes
- Fit new pipes according to layout and manufacturer instructions.
- Test connections for leaks before closing walls or floors.
Step 6: Final Testing and Clean-Up
- Turn water back on and check for pressure and leaks.
- Ensure all work areas are clean and safe.
When to Call a Professional
Professional pipe replacement can save time and prevent costly mistakes. Learn more about our pipe replacement services and contact us for assistance.
Conclusion
Following these steps ensures a smooth pipe replacement process and long-lasting plumbing performance.